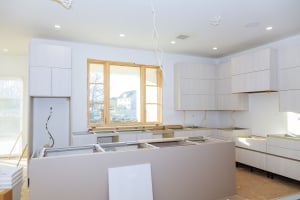
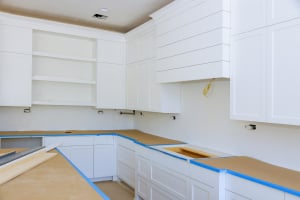
If you want to upgrade your kitchen, simply extending the kitchen cabinets to the ceiling can make a world of difference. This is an inexpensive, exciting way to instantly transform your kitchen space without investing in new cabinets or kitchen pantry cabinets.
Things to Consider Before You Start
To create a flawless finish, here are two important things to consider before you get to work:
-
Ceiling Height
If your ceilings are high (ten feet or more), extending your cabinets all the way to the top may not create the most appealing finish. This can make your cabinets look too elongated and awkward, so consider extending them midway and not all the way.
Your goal shouldn’t be to squeeze in as many additional cabinets as possible, but rather to install ceiling-high cabinets that look natural and work well with the kitchen space.
-
Crown Molding
Extending the cabinets to the ceiling can also look awkward if you have crown molding. Be careful if you plan on including crown molding on your new cabinets, especially if they are within a foot of your ceiling. Extending them may not be a good idea if they end up looking odd against the molding and are difficult to clean.
Step-by-Step Instructions for Extending Cabinets
Step 1: Build the Boxes
You need to build or purchase cabinet boxes from 27EStore to fit above each of your existing cabinets. This step is fairly simple, but it’s important to double-check your measurements to make sure you’ve got them exactly right. Your cabinets shouldn’t be too large or too long–each box should fit precisely above the existing cabinets.
You can use any type of wood and customize the cabinets however you like. To secure the new cabinets to the existing ones, use wood glue on all the joints and a nail gun to keep them in place. Use a right-angled clamp to ensure the corners are properly square. You don’t want a lopsided finish!
If you have any small nail holes or chips on the cabinet’s surface, don’t worry about them just yet. Focus on building a solid foundation first–you can always fill them in later.
Step 2: Install the New Cabinets
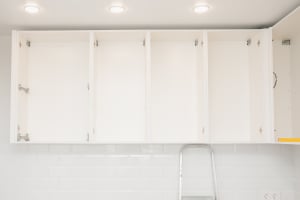
The actual installation process is super simple, and you may want to know how to adjust kitchen cabinet hinges before you install the new ones. Make sure you align each cabinet perfectly and use screws and a power drill to install them. The boxes should be attached to each other and the wall to ensure they hold their weight.
If you’re using a ladder while attaching the cabinets, make sure the ladder is steady and always ask for help when lifting heavy cabinets above your head.
Step 3: Add Trimming
The next step is attaching the trimming or crown molding to give your newly built cabinets an elegant finish.
First, carefully measure the space above the cabinet where the molding will go. Then, cut the horizontal pieces, and attach them to your cabinet edges using wood glue and a nail gun. It’s recommended to use both the wood glue and the nails for a neater and stronger finish. Small nails aren’t always very strong, and wood glue will prevent the edges from warping.
Once the trimming is complete, let it dry completely. Use painter’s caulk all along the edges and seams. Fill in any small nail holes and imperfections for a more professional, even finish.
Step 4: Paint and Finishing Touches
Now that the installation is complete, the fun part begins! Paint or stain your cabinets with your color of choice, as long as it flows well with the rest of your kitchen decor.
If painting, use a wood-grade paint primer to ensure the paint sticks properly and let each layer dry before adding another. You can either use a sprayer for even coats or paint the cabinets by hand.
Enjoy Your New Kitchen Look
If you’ve chosen open-front or glass-front cabinets, arrange some decorative pieces to bring it all together. Step back, admire your cabinets, and pat yourself on the back for all your hard work.
For more helpful information, be sure to check out our post on inset cabinets versus overlay!


