How to Install Fluted Panels: Step-by-Step Installation Guide
Fluted panel installation is a fantastic way to elevate the aesthetic of any room, offering a sophisticated and timeless touch to your interior decor. These decorative wall panels not only add texture and depth but also serve as a unique focal point in any space.
By following the steps outlined in our guide, you can achieve a seamless and elegant finish that enhances your room's overall appeal. Whether you’re updating a single wall or transforming an entire room, fluted panels provide a versatile solution that combines style with functionality!
Hanging fluted panels on a bare wall, ceiling, or other surface is relatively easy if you follow the instructions for installing them, which include gathering the right tools, careful surface preparation, and accurate measuring and binding. These steps are the same whether you are using fluted wood panels or reeded or fluted panels made from other materials.
Fluted Panels: Explained
Fluted panels are a popular decorative touch that has been used in architecture for centuries. You can see the concave grooves carved into classical Greek and Roman structures, as well as on building facades and interior walls of buildings constructed during the Renaissance era.
Today, fluting is a traditional design touch that offers depth and texture to elements of a room. The grooves or channels called ‘flutes’ are carved in uniform or varying widths from one end of the panel to the other to give a fluid sense of movement. They are a popular and playful decorative addition that often appears in bedrooms and living areas.
Steps for Installing Fluted Panels
If this is the design feature you’ve been looking for, you’ll be happy to know that installing them should not be an issue. Here are the steps to follow to transform an empty area into a stunning visual element:
Gather Tools and Materials
In addition to the panels, here is a list of the items you will need to install them:
- Measuring tape or ruler
- Saw or cutting device (this will vary depending on the material used to construct the fluted panels)
- Level
- Marker or Sharpie
- Construction adhesive
- Caulk or wood filler, in a color to match the panels
- Caulking gun
- Ladder
Prepare the Surface
Before going any further, remove the wall plates, outlets, and molding that in the area you plan to cover with fluting. If there are any holes or damaged areas, fill and sand them. Remove any dust, and gently wipe the surface with water mixed with a mild detergent. Let the surface dry completely.
Also, leave the paneling in the room for twenty-four to seventy-two hours before starting the installation to let it acclimate to the local environment.
Add Modern Elegance with Our Slatwall Panels!
Bring Texture and Depth to Your Walls!
Measure and Cut Carefully
Measure the height and width of the area you want to cover, as well as the locations of outlets and other fixtures in the space. Remeasure multiple times to make sure the measurements are correct.
Divide the wall length by the length of your paneling to figure out how many sheets you will need. It’s a good idea to add 10% to the measurement just in case you make a mistake or if there is a hitch in your plans.
Carefully cut the panels to fit side-by-side on your surface. Cut one-eighth or one-quarter inch shorter than the measurement to allow for expansion and contraction of the material. Mark the panels to match areas of the walls so you don’t get confused about where each panel is supposed to go.
Mark Your Cutouts
Using your ruler and marker, draw on the panels where they need to be cut to make room for the wall plates, outlets, electrical boxes, or any other fixtures you need to maneuver around. Use a fine-toothed saw or blade to trim the panels and carefully create the openings for the outlets and fixtures.
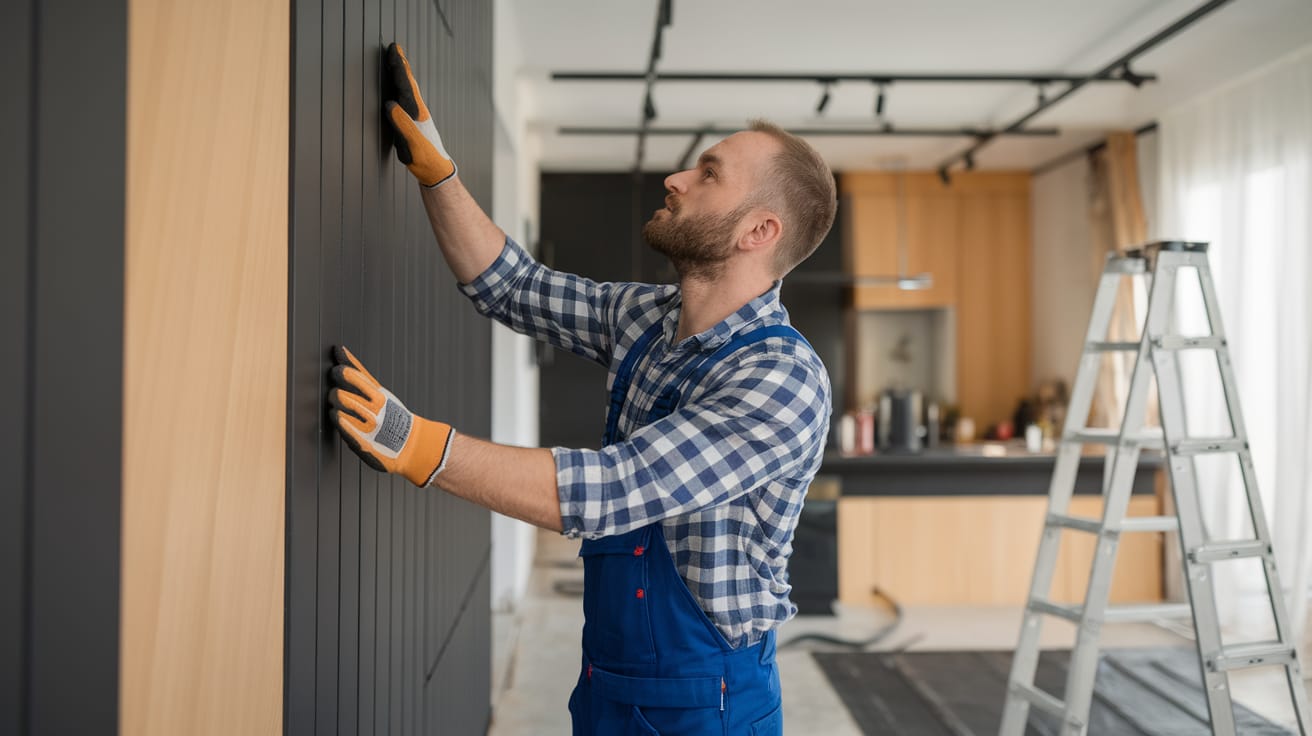
Bind Panels to the Surface
Start by positioning the first panel in a corner. Use a level to make sure it is straight (not all walls have square corners and edges, especially in an older or historical home). This first panel will set the pace for the rest of the paneling project.
Use the caulking gun loaded with the construction adhesive to make generous ‘S’ shapes on the back of each panel. You do not need to cover the entire back surface (you don’t want the glue to ooze out between the panels when they are pressed against the wall).
Use just enough glue so it stays attached to the wall or ceiling. If you want extra support, put one thin nail in a discrete location at the top and the bottom of each panel. If using fasteners, place them in the flutes where they are less visible.
Repeat to Complete
Use the first panel as a guide and place the remaining panels together in the order you have them numbered on the back. Fill any gaps between the panels with caulk.
Clean and Enjoy Your Handiwork
Use a damp cloth or sponge to wipe off excess caulk or adhesive on the surface of the newly installed panels.
In Summary
Fluted panels are an economical and interesting decorative element used in homes, restaurants, and other spaces. Their unique look and timeless appeal will enhance any home or commercial space. Ready for a look you will enjoy for years to come? 27EStore has you covered with the best panel options available–check out our selection today!


