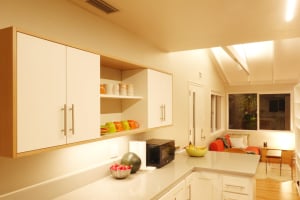
How to Paint Kitchen Cabinet Doors Without Removing Them
A fresh coat of paint is a fantastic way to refresh any room. While you can purchase pre-painted cabinet doors from 27estore, you can also change up the ones you already have.
When it comes to cabinet door painting tips, painting kitchen cabinet doors without removing them can be efficiently managed with the right preparation and technique. Protect your kitchen surfaces from drips and splatters with taped-down tarps or paper, ensure good ventilation, and have a step stool or ladder handy for higher areas.
Sand the doors with 120-grit or 220-grit sandpaper to smooth the surface and remove any existing finish before applying primer if necessary. Work in thin layers to prevent drips, using a brush, roller, or sprayer. Keep the doors open and spaced during drying to prevent sticking to the frame. Once dry, reinstall hardware for a fresh look.
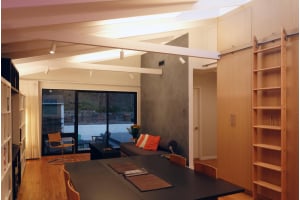
Painting and staining cabinet doors in your kitchen are very DIY-friendly improvement techniques. With just a little bit of prep work and organization, you can completely transform a space yourself in a few days.
Preparing Your Workspace
Taking extra time to fully prep the area where you will be working will pay off in the long run. Once you have selected your paint and gathered your supplies, the most important step is to protect your kitchen floors and surfaces.
Because you are keeping the doors attached, you run the risk of paint drips and splatter landing on them. Tape down tarps or paper to keep your countertops, floors, and appliances paint-free.
As you are painting or stenciling cabinet doors, keep in mind you will need to reach higher areas so have a step stool or ladder nearby. Make sure your area is well-ventilated and use fans.
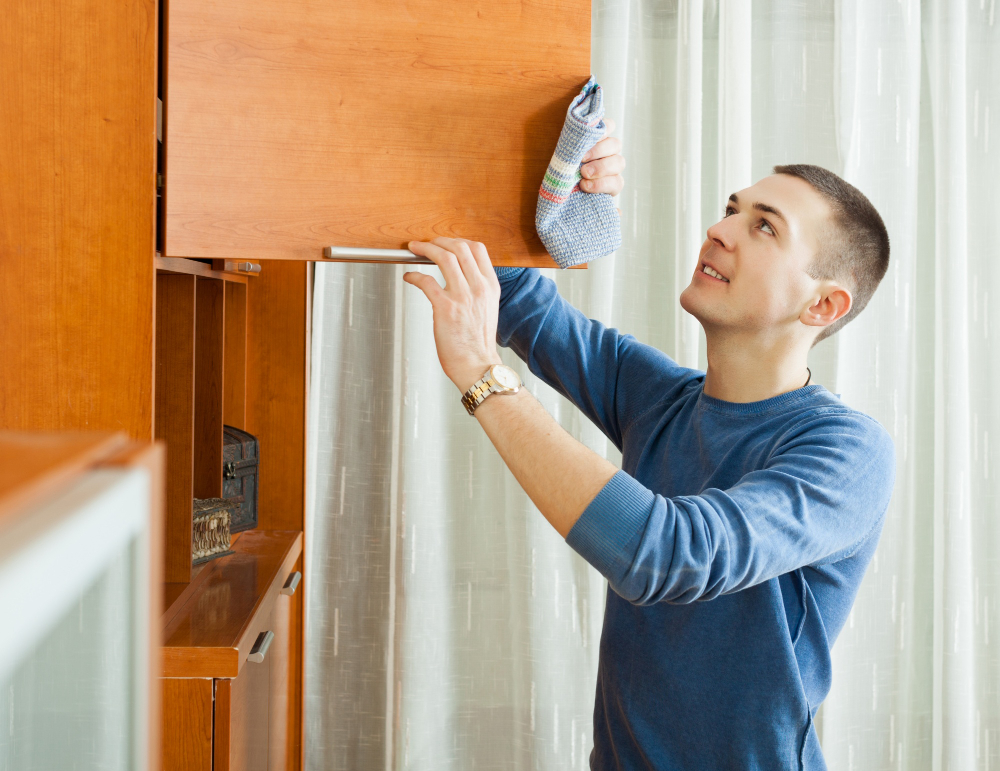
You will also want to remove any hardware like pulls and knobs and use painter's tape to protect the hinges attached to your cabinet doors. You can remove paint from hinges after the paint is dried, but taping them ahead of time creates less work in the end.
Prepping the Doors
It's essential to sand down cabinet doors before applying new paint on them. Using 120-grit or 220-grit sandpaper will remove any previous stain or paint–just be sure to remove all the dust with a vacuum or a damp cloth before applying a new coat, as leaving dust behind will result in an unpleasant gritty, textured surface. You can also use this time to fill in any cracks or signs of damage you want to smooth over before repainting.
Painting
Primer is always good to apply first but may not always be necessary. Regardless if you choose to prime or go straight to painting, make sure you allow each coat of paint to completely dry before starting the next coat.
Work in thin layers by using a paintbrush or cabinet-specific roller to prevent drips. If you are using a special sprayer instead of a brush or roller, be certain your kitchen is fully taped off before starting–this will ensure the final result is smooth.
Experience Luxury with RAL Lacquer Cabinet Doors!
Available in matte, high gloss, and soft touch finishes.
Preventing Drying Issues
Because your doors are still intact, it's crucial to allow each door to dry in a position that does not touch anything else. Keep them open and at an angle that will not get bumped into by yourself or another cabinet door.
If your doors collide with anything else, you will have dents and marks in the paint. If they are allowed to dry while shut, the paint may adhere the doors to the frame, resulting in chipped paint when you try to separate them.
Final Steps
When you are satisfied with your paint results and your doors are fully dried, you can reinstall the hardware and clean up. Of course, if you’d rather not opt for all the DIY effort, 27estore has you covered with the best pre-painted cabinet doors!