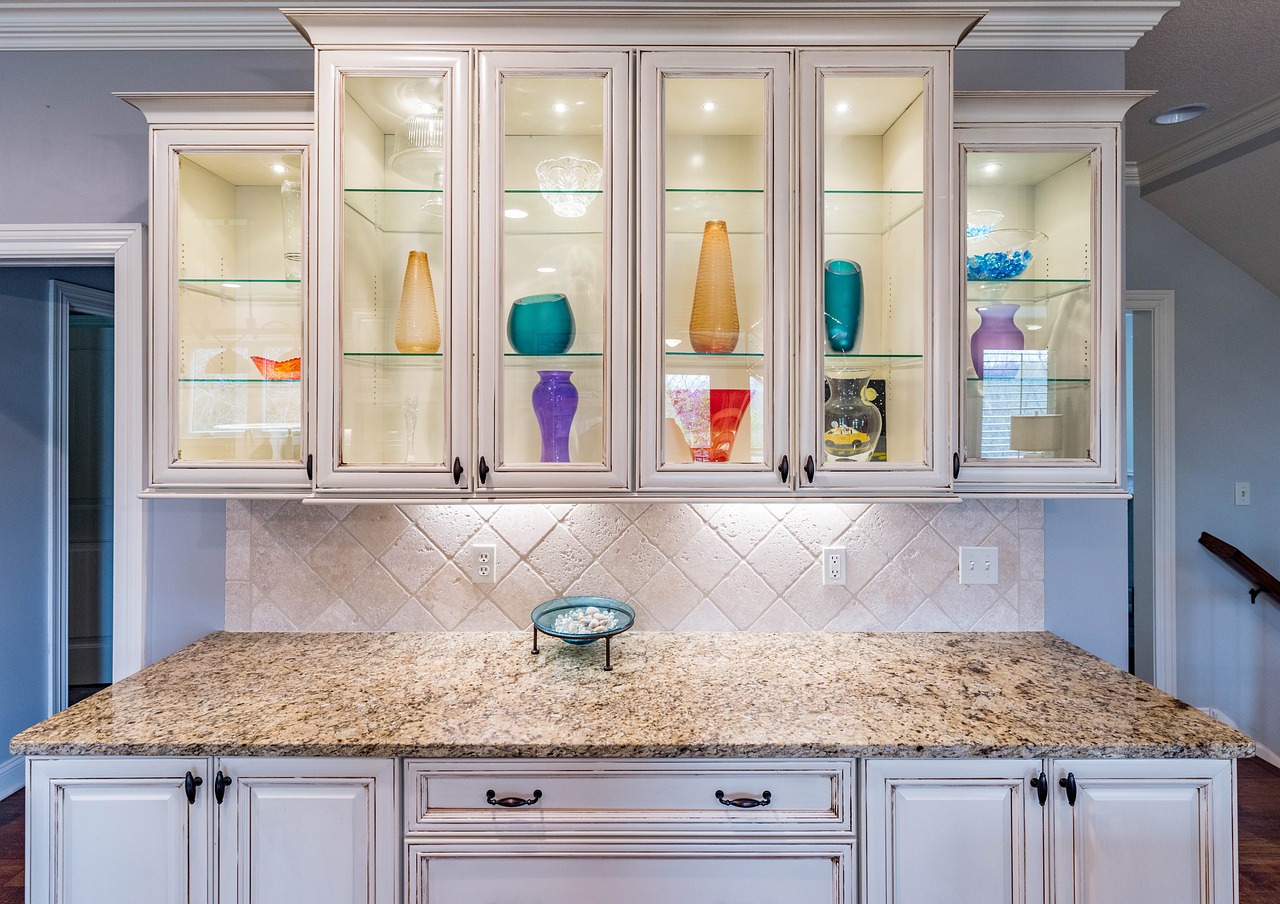
A vanity cabinet is a staple in most bathrooms. Not only does it include a bathroom sink, but it offers counter space for grooming, and doubles as a storage area. Bathroom base cabinets are essential if your bathroom is on the smaller side and you're having trouble finding enough storage solutions.
Regular bathroom base cabinet maintenance is crucial for prolonging the life and appearance of your cabinetry. Start by routinely checking for signs of water damage, such as warping, discoloration, or mold, particularly around the sink and plumbing areas. Ensure that all seals and caulking are intact to prevent moisture from seeping into the wood.
Clean the surfaces with mild, non-abrasive cleaners to avoid damaging the finish, and periodically apply a protective coating to enhance water resistance. Additionally, check and tighten any loose screws or hardware to keep your cabinet structurally sound. By staying on top of these maintenance tasks, you can keep your bathroom base cabinet in excellent condition and avoid costly repairs or replacements.
You may be wondering the difference between a sink base cabinet and a base cabinet. A base cabinet is typically used for storage and has a solid top surface. A sink base cabinet houses a sink, and the inside of the cabinet usually doesn’t have shelves or drawers due to plumbing under the sink. Depending on your needs, bathroom vanity cabinets can be fantastic space-saving bathroom storage options.
The bottom of your base cabinet, often called the ‘cabinet floor’ or ‘bottom panel,’ is the horizontal piece that forms the base where the cabinet rests. Its construction material is particularly important because it needs to support a lot of weight; it is also usually exposed to moisture, so it needs to be durable and water-resistant to prevent damage.
If the base is damaged due to water moisture, heavy load, or pests, it may need to be replaced. Here's our guide to fixing the bottom panel of your vanity like a pro:
Step One: Measure the Bottom Panel Carefully
Ensuring accurate measurements with a tape measure is crucial for any do-it-yourself (DIY) project. The old adage of always measuring twice to confirm your numbers rings true when it comes to home improvement. It's always better to double-check than to realize later that your measurements were off.
Consider any curves, bevels, or moldings that could throw you off when calculating near corners or edges. Take into consideration that over time, the hook at the end of a tape measure can become bent, resulting in inaccurate measurements. Periodically check it to make sure it's still in good shape.
Step Two: Purchase the Plywood or Particle Board
Choose a material that matches the existing cabinet and can withstand the intended use. Plywood, particleboard, or medium-density fiberboard (MDF) are commonly used for the base. Because your cabinet is in a high-moisture area, it’s best to opt for moisture-resistant materials. If the cabinet holds heavy items, you'll also need a thicker board.
The thickness of the board should match the original cabinet bottom to ensure a proper fit. If your cabinet is not painted or if the interior is visible, consider using a material that has a suitable finish to match the rest of the cabinet. If you are concerned about the environment, look for sustainably sourced materials or low-VOC (volatile organic compounds) ratings.
Using reclaimed or salvaged wood is also a great eco-friendly choice. Not only does this reduce the need for new lumber, but it can also give your cabinet a unique, rustic look.
Step Three: Remove the Old Panel
Empty the cabinet completely. Depending on how your cabinet is constructed, you may need to remove the back panel, any shelves, or even the entire cabinet itself to access the bottom panel. Carefully use a pry bar or screwdriver to remove the damaged bottom panel.
Apply gentle, steady pressure to avoid damaging the surrounding structure. If the board is nailed or glued, be careful not to force it out. Assess the surrounding parts for any signs of additional damage, such as rot, mold, or pest infestation–these issues must be addressed before installing the new panel.
Step Four: Cut and Install the New Panel
Typically, you'll want to use a circular or table saw for this task. Ensure your saw blade is sharp and suitable for the material you're cutting. Score the cut line with a utility knife before sawing to prevent chipping or tearing, especially on laminated or veneered materials. You can also use a fine-toothed saw blade or a blade designed for laminates.
If you're not comfortable cutting the panel yourself, most home improvement stores can cut it for you. Test the fit of the panel before installing. It's easier to trim a little more off than deal with a panel cut too small.
Once the new panel fits correctly, apply wood glue along the edges where the panel will meet the cabinet sides. Place the panel into position and use finishing nails or a nail gun to secure it, then wipe away any excess glue immediately. You can sand the edges to ensure it’s flush with the sides of the cabinet. Consider adding trim around the edge or painting the new panel to match the rest of the cabinet. Take your time with this project. Rushing can lead to mistakes or damage to your cabinet.
When the Project Is More Extensive
If the damage extends beyond the bottom panel and affects other structural parts of the cabinet, it may be time to call a skilled professional. They can assess the damage and determine the best course of action.
Wondering why are bathroom vanity units so expensive? Cost depends on several factors, such as materials, design construction, and even brand name. That said, replacing the bottom of your bathroom vanity doesn’t need to burn a hole in your pocket. 27EStore offers an extensive selection of home improvement products–our competitive pricing can help jumpstart your next DIY project!


