If you are a tradesperson creating kitchen cabinets for your clients or a homeowner eager to renovate your perfect home, it’s important to know what goes into making quality kitchen cabinets.
In this article, we will guide you through the construction process with our in-depth guide on how ready-to-install kitchen cabinets are made.
Generally, kitchen cabinets are made using different wood or wood composite types, including oak, maple, cherry, and birch. Sometimes the wood will be finished with a polymer layer. They can be finished with shelves, doors, and handles of the same material, or with glass.
Well-made kitchen cabinets can dramatically enhance the beauty of a kitchen. Maintenance is essential, so cleaning kitchen cabinets with baking soda is highly recommended in order to maintain their clean shine.
So, what’s the process for creating your very own kitchen cabinets?
Measure and Plan
The first step is to measure your kitchen space. Take accurate measurements of the wall dimensions, ensure that the countertops are leveled, and note the number of electrical and plumbing points required. This information is crucial to creating precise cabinetry.
Cut the Wood
After the design is finalized, it's time to cut the pieces that will be used to make the cabinets. A table saw is the ideal tool to cut large pieces into smaller ones, while a circular saw can be used to cut the smaller pieces into the appropriate length and width.
Create the Frame
Once the wood pieces are cut to size, they are nailed together to create the cabinet frames. Generally speaking, the frames are created with a ‘face frame’ that surrounds the cabinet doors, providing them with the necessary rigidity and shape required.
Add the Doors and Handles
Next, add the cabinet doors to the frames. The doors can be attached using various methods such as hinges, metal brackets, or screws. Complete the cabinets by attaching knobs or handles to the doors.
Install the Cabinets
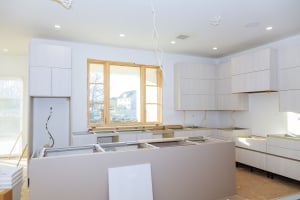
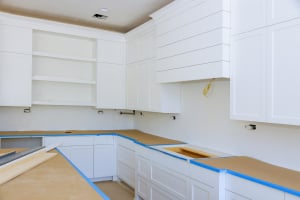
Finally, the cabinets are installed in the kitchen, starting with the base cabinets, followed by the wall cabinets, and finally, the tall cabinets. Attaching the cabinets to the walls securely is critical, because they will be holding a lot of weight or expensive items. The last thing you want is for a cabinet to fall while it holds your fine china!
Types and Uses of Kitchen Cabinets
Wall Cabinets
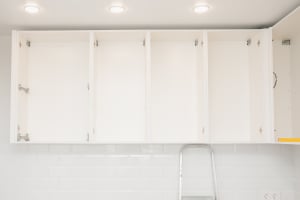
Wall cabinets are mounted on the wall above the countertops. They are a great way to store dishes, food items, or cookbooks. They can also serve as a display case for kitchenware.
Base Cabinets
Base cabinets sit on the floor and provide a sturdy foundation for the countertops. They are ideal for storing pots and pans, containers, and appliances that you do not use frequently.
Tall Cabinets
Tall cabinets, as the name suggests, are the tallest of the three and are meant to provide additional storage space. They are perfect for storing household cleaning supplies, brooms, and mops.
Other Cabinet Types
There are specialized cabinets such as corner cabinets, pantry cabinets, and drawer cabinets that cater to specific storage needs. These are less common, but can be beneficial to your renovation.
Wrapping Up
The production time for kitchen cabinets is relatively lengthy due to the precision and skill involved. However, it’s most definitely worth it. Upgrading any kitchen with handmade cabinets will give your kitchen the facelift it needs, and 27EStore is ready to help!


